Step by Step Palm Tree Drawing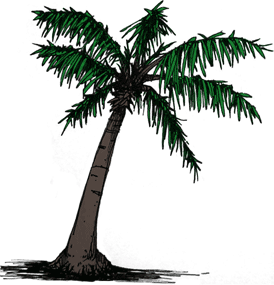
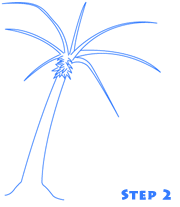
Step 2 - Branches Step 3 - Leaves The shape of the leaves is just simple curves that have a pointed end on them. Make sure to leave some spaces between the leaves so that you have some room to draw the back facing leaves in the next step. Draw the leaves for all of the branches just like in the example image. Remember to keep in mind which branches appear in front of other branches so that you can let the leaves of those naturally fall over top of the other branches. You should also add some details to the trunk of your palm tree drawing here. Some lines running across the trunk and some detail lines around the roots where the tree meets the ground will finish off this drawing nicely. Add some more detail into the shading of the tree for a more realistic look, or leave it without shading for a cartoon feeling - it's up to you. Don't Miss This - Learn to Draw from Professional ArtistsAre you looking to make a breakthrough with your artistic abilities? Artists from the world's top studios like Disney, Nickelodeon, Blue Sky, and Pixar are sharing their hard-earned knowledge so you can learn directly from the people who create the amazing comics, movies and cartoons that we all watch and love. If you're tired of looking for a good teacher - stop looking right now and click this link. |
 |
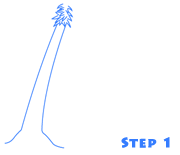 Step 1 - The Trunk
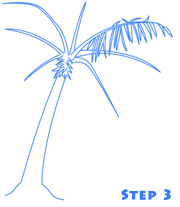
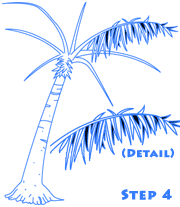 Step 4 - Leaves and Trunk Details